

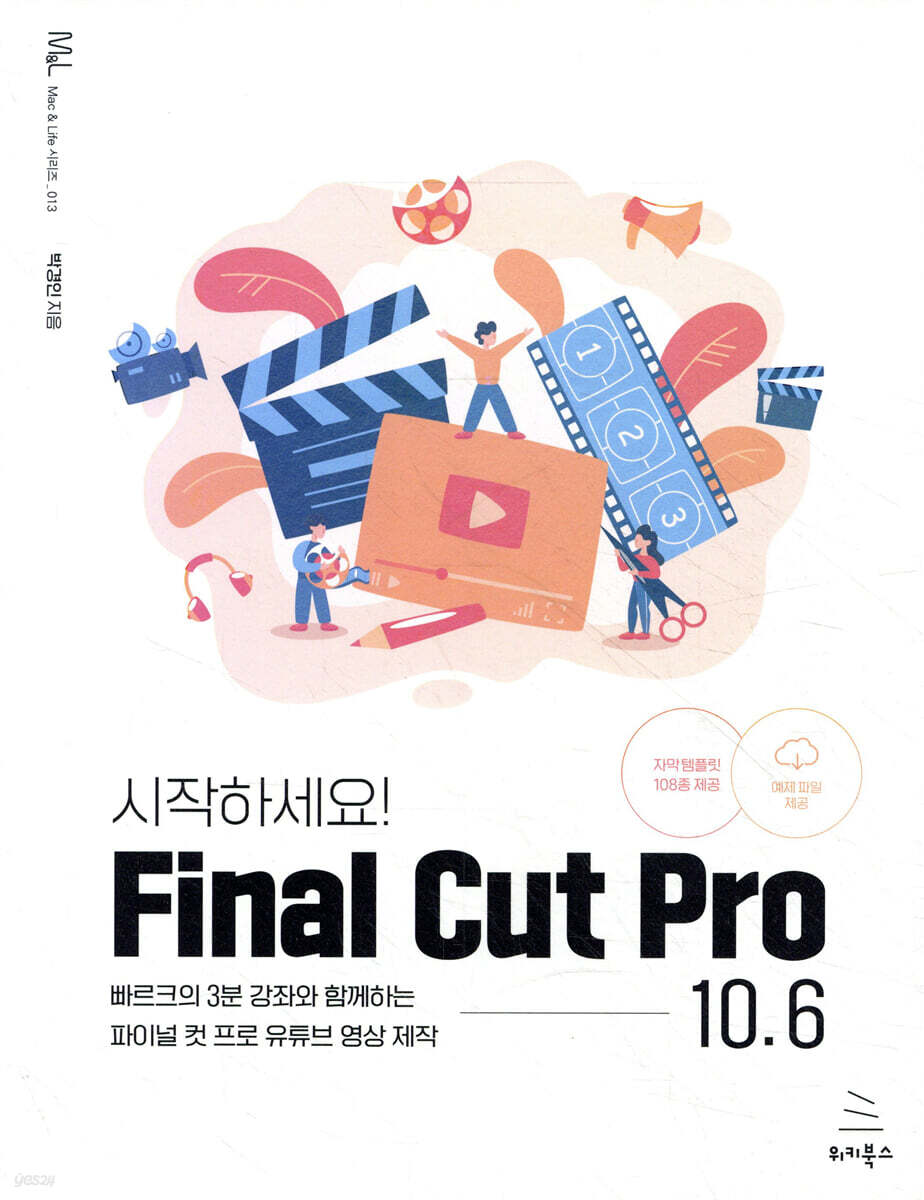
Get started! Final Cut Pro 10.6
 |
Description
Book Introduction
Introducing a friendly and detailed introduction to Final Cut Pro!
This book is an introductory book to Final Cut Pro written by 'Park', who teaches Final Cut Pro in an easy and friendly way to many people through 'Park's Final Cut Pro 3-Minute Course' on YouTube.
The 30-day curriculum combines the strengths of books and YouTube lectures, allowing you to learn Final Cut Pro step-by-step through hands-on practice.
Additionally, those who learned the basics of Final Cut Pro through YouTube can systematically learn more in-depth information about using the program through the book.
It contains the latest content for Final Cut Pro 10.6, and covers everything from basic content to practical editing skills so that even non-experts can easily create high-quality video content.
Additionally, you can create your own video content more easily with 108 subtitle templates created by the author.
This book is an introductory book to Final Cut Pro written by 'Park', who teaches Final Cut Pro in an easy and friendly way to many people through 'Park's Final Cut Pro 3-Minute Course' on YouTube.
The 30-day curriculum combines the strengths of books and YouTube lectures, allowing you to learn Final Cut Pro step-by-step through hands-on practice.
Additionally, those who learned the basics of Final Cut Pro through YouTube can systematically learn more in-depth information about using the program through the book.
It contains the latest content for Final Cut Pro 10.6, and covers everything from basic content to practical editing skills so that even non-experts can easily create high-quality video content.
Additionally, you can create your own video content more easily with 108 subtitle templates created by the author.
- You can preview some of the book's contents.
Preview
index
Chapter 1: Getting Started with Final Cut Pro 10.6
Day 1: Introducing Final Cut Pro
___Final Cut Pro's representative features
Day 2: Installing the Final Cut Pro Free Trial
___Installing the Final Cut Pro trial version
___Run Final Cut Pro
Day 3: Final Cut Pro's Interface and Menus
___Final Cut Pro's interface
Day 4: Final Cut Pro YouTube Video Editing in 10 Minutes
__Final Cut Pro workflow
Day 5: Installing the Final Cut Pro Template
__Types of Final Cut Pro template files
__How to install Final Cut Pro template files
Day 6: 36 Best Final Cut Pro Shortcuts
Chapter 2: Well Started! Basic Cut Editing
Day 7: Libraries, Events, and Projects
Day 8: Loading and arranging videos
__Import video files into Final Cut Pro
__Place video files on the timeline
Day 9: Basic Cut Editing and Timecode
__Basic cut editing
__Timecode
Day 10: Section Selection Editing and Three-Point Editing
___Editing a section selection in the browser panel
Practice ___3-point editing
Chapter 3: Editing Subtitles Easily and Easily
Day 11: Adding Basic Subtitles
___Add a Basic Title
___Change the basic style of the title subtitle
___Save as Text Preset and then apply
___Working with subtitles using responsive subtitle templates
Day 12: Adding 3D Text Subtitles
___Convert basic subtitles to 3D text
___Apply from the text preset and then edit
Apply in ___3D Text Template
Day 13: Creating the Opening Title
___Opening titles with a feeling of spreading ink
___Pull Focus template that naturally adjusts focus
Day 14: Adding Foreign Language Captions
___Add captions
Adding another caption subtitle while ___caption subtitle is entered
___Change the format of the caption subtitles
___Learning CEA-608 Format Subtitles Through Practice
Chapter 4: Editing Audio to Enhance Video Quality
Day 15: Basic Audio Editing
___Import and place audio files
Editing audio using the ___waveform lines and audio meters
___Easily create audio fade-ins and fade-outs with a drag
Editing audio clips in detail using the ___Inspector
Day 16: Adding narration, music, and sound effects
___Add sound effects using the music app
___Search for sound effects and place them
___Add narration
___Reduce background music volume only for the parts with narration
___Using Roles
Day 17: Must-Know! Explore Fun Audio Effects
___Activate the Audio Effects window
Telephone effect that creates the feeling of making a phone call
Helium effect that feels like inhaling helium gas
Limiter effect that evenly adjusts the sound volume
___Space Designer effect that designs three-dimensional spatial sound
Chapter 5: Outputting the Worked Video to a File
___Looking at the Export File window that outputs the video file - Info tab
___Looking at the Export File window that outputs the video file - Settings tab
___Looking at the Export File window that outputs the video file - Roles tab
___Checking output progress through background tasks
Output to ___mp4 container file
___Output as a video for uploading to YouTube & Facebook
Day 19: Create a YouTube Thumbnail by Capturing the Screen
Save Current Frame to capture a specific scene in the ___ video
___YouTube thumbnails can be created easily and conveniently
___Using the Miricanvas site
Chapter 6: Various editing skills for progressing from beginner to intermediate.
Day 20: Adjusting the Video Speed
___Adjusting speed using the Clip Retiming menu
Adjust speed to ___Custom
Reverse Clip to create a reverse playback clip
___Blade Speed that adjusts speed only for some sections
___Hold function that pauses for a moment
___Check out the Speed Ramp feature
Day 21: Editing Video with Photos - Position and Scale
___Looking at the Transform in the Inspector
___Easily adjust the position using the Transform button
___Add keyframe animation (position)
Scale to adjust the size of ___
___How to create a zoom-out animation effect with keyframes
___Making it look like a Polaroid photo
___Easily create animations with Ken Burns' features
Day 22: Editing Videos with Photos - Rotation, Anchor Points, Opacity
___Check related properties in the Inspector
Splitting the screen using ___ anchor points
Adding a watermark using the ___Opacity property
Day 23: Compound Clip and J-Cut/L-Cut Editing Techniques
___compound clip
___Compound clips that can be modified within the clip
Split screen using ___compound clip
___J-cut and L-cut editing techniques
Day 24: Multi-cam Editing
___Creating a multi-cam clip
___Editing within a multi-cam clip
___Select and edit the camera
___How to switch cameras manually
___The Core of Multi-Cam Editing
Chapter 7: Color Correction to Add Beauty to Your Footage
Day 25: Getting Started with Color Correction
___The basic tool for color correction - Color Board
Color correction using the ___color wheel
Day 26: Color-Correcting My Footage for Cinematic Look
___Applying the downloaded LUT file
Applying ___Color Correction Color Presets
___Creating Color Correction Color Presets
Day 27: Color Correcting Specific Areas
___Freely change the color of the sky
___Color correcting only specific areas like in the movie Sin City
___Special 1 _ Color correction using a videoscope
___Special 2 _ Color Correction with Hue/Saturation Curves
Chapter 8: Knowing One, Applying It to Ten Masks and Compositing
Day 28: Using Blend Modes to Create Natural Video Compositions
Day 29: Green Screen Compositing (Chroma Key Technique)
Applying the ___Keyer effect
___Adding a Custom Clip to Composite a Solid Color Background
___Compositing a background into a laptop video
Day 30: Using the Mask Feature to Compose Videos
___Create a video that shows the ocean when you open a door using Draw Mask
___Putting the ocean in a cup with Shape Mask
Appendix A: Exploring the Final Cut Pro Menus
___[Final Cut Pro] menu
___[File] menu
___[Edit] menu
___[Trim] menu
___[Mark] menu
___[Clip] Menu
___[Modify] menu
___[View] menu
___[Window] menu
___[Help] menu
Appendix B: What's New in Final Cut Pro 10.6: Object Tracker
___Object Tracker
___Basic usage of the object tracker
___Drag the effect into the viewer to use the object tracker
Day 1: Introducing Final Cut Pro
___Final Cut Pro's representative features
Day 2: Installing the Final Cut Pro Free Trial
___Installing the Final Cut Pro trial version
___Run Final Cut Pro
Day 3: Final Cut Pro's Interface and Menus
___Final Cut Pro's interface
Day 4: Final Cut Pro YouTube Video Editing in 10 Minutes
__Final Cut Pro workflow
Day 5: Installing the Final Cut Pro Template
__Types of Final Cut Pro template files
__How to install Final Cut Pro template files
Day 6: 36 Best Final Cut Pro Shortcuts
Chapter 2: Well Started! Basic Cut Editing
Day 7: Libraries, Events, and Projects
Day 8: Loading and arranging videos
__Import video files into Final Cut Pro
__Place video files on the timeline
Day 9: Basic Cut Editing and Timecode
__Basic cut editing
__Timecode
Day 10: Section Selection Editing and Three-Point Editing
___Editing a section selection in the browser panel
Practice ___3-point editing
Chapter 3: Editing Subtitles Easily and Easily
Day 11: Adding Basic Subtitles
___Add a Basic Title
___Change the basic style of the title subtitle
___Save as Text Preset and then apply
___Working with subtitles using responsive subtitle templates
Day 12: Adding 3D Text Subtitles
___Convert basic subtitles to 3D text
___Apply from the text preset and then edit
Apply in ___3D Text Template
Day 13: Creating the Opening Title
___Opening titles with a feeling of spreading ink
___Pull Focus template that naturally adjusts focus
Day 14: Adding Foreign Language Captions
___Add captions
Adding another caption subtitle while ___caption subtitle is entered
___Change the format of the caption subtitles
___Learning CEA-608 Format Subtitles Through Practice
Chapter 4: Editing Audio to Enhance Video Quality
Day 15: Basic Audio Editing
___Import and place audio files
Editing audio using the ___waveform lines and audio meters
___Easily create audio fade-ins and fade-outs with a drag
Editing audio clips in detail using the ___Inspector
Day 16: Adding narration, music, and sound effects
___Add sound effects using the music app
___Search for sound effects and place them
___Add narration
___Reduce background music volume only for the parts with narration
___Using Roles
Day 17: Must-Know! Explore Fun Audio Effects
___Activate the Audio Effects window
Telephone effect that creates the feeling of making a phone call
Helium effect that feels like inhaling helium gas
Limiter effect that evenly adjusts the sound volume
___Space Designer effect that designs three-dimensional spatial sound
Chapter 5: Outputting the Worked Video to a File
___Looking at the Export File window that outputs the video file - Info tab
___Looking at the Export File window that outputs the video file - Settings tab
___Looking at the Export File window that outputs the video file - Roles tab
___Checking output progress through background tasks
Output to ___mp4 container file
___Output as a video for uploading to YouTube & Facebook
Day 19: Create a YouTube Thumbnail by Capturing the Screen
Save Current Frame to capture a specific scene in the ___ video
___YouTube thumbnails can be created easily and conveniently
___Using the Miricanvas site
Chapter 6: Various editing skills for progressing from beginner to intermediate.
Day 20: Adjusting the Video Speed
___Adjusting speed using the Clip Retiming menu
Adjust speed to ___Custom
Reverse Clip to create a reverse playback clip
___Blade Speed that adjusts speed only for some sections
___Hold function that pauses for a moment
___Check out the Speed Ramp feature
Day 21: Editing Video with Photos - Position and Scale
___Looking at the Transform in the Inspector
___Easily adjust the position using the Transform button
___Add keyframe animation (position)
Scale to adjust the size of ___
___How to create a zoom-out animation effect with keyframes
___Making it look like a Polaroid photo
___Easily create animations with Ken Burns' features
Day 22: Editing Videos with Photos - Rotation, Anchor Points, Opacity
___Check related properties in the Inspector
Splitting the screen using ___ anchor points
Adding a watermark using the ___Opacity property
Day 23: Compound Clip and J-Cut/L-Cut Editing Techniques
___compound clip
___Compound clips that can be modified within the clip
Split screen using ___compound clip
___J-cut and L-cut editing techniques
Day 24: Multi-cam Editing
___Creating a multi-cam clip
___Editing within a multi-cam clip
___Select and edit the camera
___How to switch cameras manually
___The Core of Multi-Cam Editing
Chapter 7: Color Correction to Add Beauty to Your Footage
Day 25: Getting Started with Color Correction
___The basic tool for color correction - Color Board
Color correction using the ___color wheel
Day 26: Color-Correcting My Footage for Cinematic Look
___Applying the downloaded LUT file
Applying ___Color Correction Color Presets
___Creating Color Correction Color Presets
Day 27: Color Correcting Specific Areas
___Freely change the color of the sky
___Color correcting only specific areas like in the movie Sin City
___Special 1 _ Color correction using a videoscope
___Special 2 _ Color Correction with Hue/Saturation Curves
Chapter 8: Knowing One, Applying It to Ten Masks and Compositing
Day 28: Using Blend Modes to Create Natural Video Compositions
Day 29: Green Screen Compositing (Chroma Key Technique)
Applying the ___Keyer effect
___Adding a Custom Clip to Composite a Solid Color Background
___Compositing a background into a laptop video
Day 30: Using the Mask Feature to Compose Videos
___Create a video that shows the ocean when you open a door using Draw Mask
___Putting the ocean in a cup with Shape Mask
Appendix A: Exploring the Final Cut Pro Menus
___[Final Cut Pro] menu
___[File] menu
___[Edit] menu
___[Trim] menu
___[Mark] menu
___[Clip] Menu
___[Modify] menu
___[View] menu
___[Window] menu
___[Help] menu
Appendix B: What's New in Final Cut Pro 10.6: Object Tracker
___Object Tracker
___Basic usage of the object tracker
___Drag the effect into the viewer to use the object tracker
Detailed image

Publisher's Review
[Video lecture]
■ Park's Final Cut Pro Online Class https://bit.ly/3lfeHzA
■ Park's Final Cut Pro Online Class https://bit.ly/3lfeHzA
GOODS SPECIFICS
- Publication date: December 15, 2021
- Page count, weight, size: 388 pages | 175*235*30mm
- ISBN13: 9791158392963
- ISBN10: 1158392966
You may also like
카테고리
korean


korean

![GQ KOREA Mark (Monthly): December [2025]](http://librairie.coreenne.fr/cdn/shop/files/8ef265dbbfbf186523ed75ba7319009d.jpg?v=1765340328&width=3840)


