

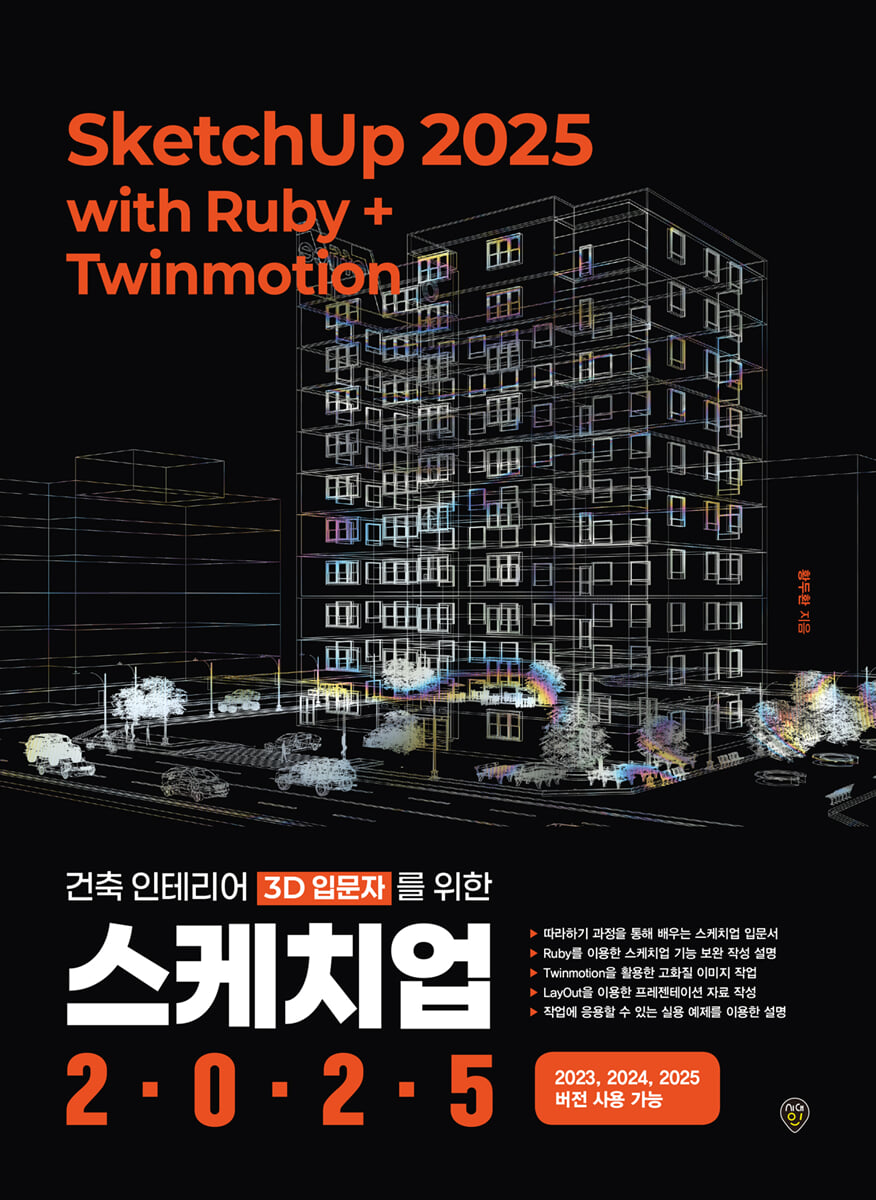
SketchUp 2025 with Ruby+Twinmotion
 |
Description
Book Introduction
SketchUp is a program that even beginners can easily access, allowing them to create 3D works in a short period of time.
This book teaches you the basic commands for creating 3D objects using SketchUp, and uses Ruby, an extension tool, to increase work efficiency.
We'll also cover rendering methods using Twinmotion and creating presentation materials using LayOut.
Rather than rigid menu-based explanations, you can easily learn commands through a process of following examples, and work with various examples that are useful for practical adaptation.
After you complete the course, you'll be provided with practice drawings to review how you did it, allowing you to practice what you learned one more time.
This book teaches you the basic commands for creating 3D objects using SketchUp, and uses Ruby, an extension tool, to increase work efficiency.
We'll also cover rendering methods using Twinmotion and creating presentation materials using LayOut.
Rather than rigid menu-based explanations, you can easily learn commands through a process of following examples, and work with various examples that are useful for practical adaptation.
After you complete the course, you'll be provided with practice drawings to review how you did it, allowing you to practice what you learned one more time.
- You can preview some of the book's contents.
Preview
index
Part 01 Getting Started with SketchUp
CHAPTER 01 Preparing SketchUp
Step 1 What is 'SketchUp'?
Step 2: Download and install SketchUp
Step 3 Features added in SketchUp 2024 and 2025
CHAPTER 02 Setting up the work environment
Step 1: Review the screen layout
Step 2: Configure user environment and set up templates
Step 3: Install additional materials
Step 4: Install additional components
CHAPTER 03 Operation and Control of the Work Screen
Step 1: Manipulating the work screen
Step 2 Camera and View Types
Step 3 Shortcuts
CHAPTER 04 Understanding the Modeling Process
Step 1: 3D Modeling in SketchUp
Step 2: Apply height after creating the plane
Step 3: Apply depth after creating the elevation
Step 4: Apply rotation after creating the cross section
Step 5: Create a cross-section and apply the follow function
Step 6: Use CAD drawings (DWG)
Part 02 Modeling Basics - Mastering Key Tools
CHAPTER 01 Creating Tables and Building Masses
Step 1: Create a table
Step 2: Create a building mass
CHAPTER 02 Building a Bench
Step 1 Facade Sketch
CHAPTER 03 WALL DECORATION DESIGN
Step 1: Making the floor, walls, and baseboards
Step 2: Making a Circular Decoration
Step 3: Adding Materials
Step 4: Arrange the furniture
CHAPTER 04 Small Theater Design
Step 1: Organize your space
Step 2 Ceiling Design
Step 3: Designing the Auditorium and Stage
Step 4: Adding Materials
Step 5 Output the results
CHAPTER 05 Building a Staircase
Step 1: Building the Railing
Step 2: Making the railing (handrail)
Step 3: Create a Follow Me
Step 4 Copy to each layer
Step 5: Modeling using coordinate axes
CHAPTER 06 Creating a Bus Stop
Step 1: Building a Station Structure
Step 2: Modeling the Chair
Step 3 Window Modeling
Step 4: Creating 3D Text
Step 5: Importing surrounding elements
Part 03 Modeling Applications - Farnsworth House Modeling
CHAPTER 01 Structural Modeling Using CAD Drawings
Step 1: Import CAD drawings
Step 2: Building the Floor and Roof
Step 3: Making the column (H-beam)
Step 4: Creating Stairs
Step 5: Building a Glass Wall
CHAPTER 02 Internal Modeling Using Components (3D Warehouse)
Step 1: Securing a View with a Section Plane
Step 2: Arrange furniture (components)
CHAPTER 03 Material and Background Expression
Step 1 Material Expression
Step 2: Background Expression (Landscape and Sun Setting)
CHAPTER 04 Scenes Setting and Animation
Step 1: Setting the Scene
Step 2 Export to image (JPEG) file
Step 3: Create a video with animation
CHAPTER 05 Useful Functions for Modeling and Practitioner Tips
Step 1: Specify the sketch reference plane
Step 2: Lasso selection and invert selection
Step 3: Resize objects with a ruler
Step 4 Specify the rotation axis
Step 5 Cross-section (longitudinal) + Cross-section (transverse)
Step 6: Using Paste In Place
CHAPTER 06: Extending Ruby Tools and Using Generative AI
Step 1: Download Ruby
Step 2: Install Ruby
Step 3 TrueBend
Step 4 Joint Push/Pull
Step 5 Round Corner
Step 6 Solid Inspector²
Step 7 Generative AI SketchUp Diffusion
Part 04 Modeling Practice - Isometric, Interior Perspective (Coffee Shop), Perspective
CHAPTER 01 Isometric
Step 1: Creating the Floor and Walls
Step 2 Open the opening
Step 3: Create a Door
Step 4: Create a window
Step 5: Making a mop holder
Step 6: Applying materials to the floor and walls
Step 7: Arrange furniture and output images
CHAPTER 02 Interior Perspective (Coffee Shop)
Step 1: Import CAD drawings
Step 2 Space configuration
Step 3 Interior composition
Step 4 Internal Modeling
Step 5: Applying materials using external images
Step 6: Component placement
Step 7 Output Settings
CHAPTER 03 Perspective Drawing
Step 1: Import CAD drawings
Step 2: Creating the Floor and Walls
Step 3 Open the opening
Step 4: Window placement (using basic components)
Step 5 Rooftop
Step 6: Land and Landscape Development
Step 7: Output the image
Part 05: Modeling Applications - Real-Time Rendering with Twinmotion
CHAPTER 01 Twinmotion with Unreal Engine
Step 1: Check Twinmotion 2024 System Requirements
Step 2: Install the free version of Twinmotion
CHAPTER 02 Twinmotion Settings and Screen Configuration
Step 1 Settings
Step 2 Screen composition
Step 3: Space Exploration (Navigation)
CHAPTER 03 Mastering Twinmotion's Key Tools
Step 1: Importing a SketchUp Model (Study Model: Farnsworth House)
Step 2 Save the scene
Step 3 Scene Panel
Step 4 Library Panel - Materials
Step 5: Modify the model
Step 6 Library Panel - Objects
Step 7 Library Panel - Vegetation and Terrain
Step 8 Animator
Step 9 HDRI Environment
Step 10: Lighting
CHAPTER 04 Rendering Images and Video Output
Step 1: Save the image
Step 2 Video Output
Part 06 Using LayOut 2025 - Presentation
CHAPTER 01 Creating Presentation Materials
Step 1: Prepare attached images
Step 2: Create the cover page
Step 3 Image Material Layout
Step 4: Create a drawing (using SketchUp modeling files)
Step 5 Print (PDF)
CHAPTER 01 Preparing SketchUp
Step 1 What is 'SketchUp'?
Step 2: Download and install SketchUp
Step 3 Features added in SketchUp 2024 and 2025
CHAPTER 02 Setting up the work environment
Step 1: Review the screen layout
Step 2: Configure user environment and set up templates
Step 3: Install additional materials
Step 4: Install additional components
CHAPTER 03 Operation and Control of the Work Screen
Step 1: Manipulating the work screen
Step 2 Camera and View Types
Step 3 Shortcuts
CHAPTER 04 Understanding the Modeling Process
Step 1: 3D Modeling in SketchUp
Step 2: Apply height after creating the plane
Step 3: Apply depth after creating the elevation
Step 4: Apply rotation after creating the cross section
Step 5: Create a cross-section and apply the follow function
Step 6: Use CAD drawings (DWG)
Part 02 Modeling Basics - Mastering Key Tools
CHAPTER 01 Creating Tables and Building Masses
Step 1: Create a table
Step 2: Create a building mass
CHAPTER 02 Building a Bench
Step 1 Facade Sketch
CHAPTER 03 WALL DECORATION DESIGN
Step 1: Making the floor, walls, and baseboards
Step 2: Making a Circular Decoration
Step 3: Adding Materials
Step 4: Arrange the furniture
CHAPTER 04 Small Theater Design
Step 1: Organize your space
Step 2 Ceiling Design
Step 3: Designing the Auditorium and Stage
Step 4: Adding Materials
Step 5 Output the results
CHAPTER 05 Building a Staircase
Step 1: Building the Railing
Step 2: Making the railing (handrail)
Step 3: Create a Follow Me
Step 4 Copy to each layer
Step 5: Modeling using coordinate axes
CHAPTER 06 Creating a Bus Stop
Step 1: Building a Station Structure
Step 2: Modeling the Chair
Step 3 Window Modeling
Step 4: Creating 3D Text
Step 5: Importing surrounding elements
Part 03 Modeling Applications - Farnsworth House Modeling
CHAPTER 01 Structural Modeling Using CAD Drawings
Step 1: Import CAD drawings
Step 2: Building the Floor and Roof
Step 3: Making the column (H-beam)
Step 4: Creating Stairs
Step 5: Building a Glass Wall
CHAPTER 02 Internal Modeling Using Components (3D Warehouse)
Step 1: Securing a View with a Section Plane
Step 2: Arrange furniture (components)
CHAPTER 03 Material and Background Expression
Step 1 Material Expression
Step 2: Background Expression (Landscape and Sun Setting)
CHAPTER 04 Scenes Setting and Animation
Step 1: Setting the Scene
Step 2 Export to image (JPEG) file
Step 3: Create a video with animation
CHAPTER 05 Useful Functions for Modeling and Practitioner Tips
Step 1: Specify the sketch reference plane
Step 2: Lasso selection and invert selection
Step 3: Resize objects with a ruler
Step 4 Specify the rotation axis
Step 5 Cross-section (longitudinal) + Cross-section (transverse)
Step 6: Using Paste In Place
CHAPTER 06: Extending Ruby Tools and Using Generative AI
Step 1: Download Ruby
Step 2: Install Ruby
Step 3 TrueBend
Step 4 Joint Push/Pull
Step 5 Round Corner
Step 6 Solid Inspector²
Step 7 Generative AI SketchUp Diffusion
Part 04 Modeling Practice - Isometric, Interior Perspective (Coffee Shop), Perspective
CHAPTER 01 Isometric
Step 1: Creating the Floor and Walls
Step 2 Open the opening
Step 3: Create a Door
Step 4: Create a window
Step 5: Making a mop holder
Step 6: Applying materials to the floor and walls
Step 7: Arrange furniture and output images
CHAPTER 02 Interior Perspective (Coffee Shop)
Step 1: Import CAD drawings
Step 2 Space configuration
Step 3 Interior composition
Step 4 Internal Modeling
Step 5: Applying materials using external images
Step 6: Component placement
Step 7 Output Settings
CHAPTER 03 Perspective Drawing
Step 1: Import CAD drawings
Step 2: Creating the Floor and Walls
Step 3 Open the opening
Step 4: Window placement (using basic components)
Step 5 Rooftop
Step 6: Land and Landscape Development
Step 7: Output the image
Part 05: Modeling Applications - Real-Time Rendering with Twinmotion
CHAPTER 01 Twinmotion with Unreal Engine
Step 1: Check Twinmotion 2024 System Requirements
Step 2: Install the free version of Twinmotion
CHAPTER 02 Twinmotion Settings and Screen Configuration
Step 1 Settings
Step 2 Screen composition
Step 3: Space Exploration (Navigation)
CHAPTER 03 Mastering Twinmotion's Key Tools
Step 1: Importing a SketchUp Model (Study Model: Farnsworth House)
Step 2 Save the scene
Step 3 Scene Panel
Step 4 Library Panel - Materials
Step 5: Modify the model
Step 6 Library Panel - Objects
Step 7 Library Panel - Vegetation and Terrain
Step 8 Animator
Step 9 HDRI Environment
Step 10: Lighting
CHAPTER 04 Rendering Images and Video Output
Step 1: Save the image
Step 2 Video Output
Part 06 Using LayOut 2025 - Presentation
CHAPTER 01 Creating Presentation Materials
Step 1: Prepare attached images
Step 2: Create the cover page
Step 3 Image Material Layout
Step 4: Create a drawing (using SketchUp modeling files)
Step 5 Print (PDF)
Detailed image

Publisher's Review
You can learn the fundamentals of SketchUp modeling through practical examples.
You can learn the basics of modeling by following along with various practical examples and learning from basic commands to advanced commands.
Utilizes Ruby and Twinmotion plugin software.
SketchUp can utilize a variety of plug-in software.
This book introduces how to extract realistic images and videos using Twinmotion (free), a real-time 3D visualization tool, and how to use Ruby to supplement the basic tools and efficiently perform automation, surface work, object editing, and more.
You can easily create drawing presentation materials using LayOut.
You can import modeling data from SketchUp into LayOut, attach it as data, add content, and create drawings and documents to use in presentations or proposals.
You can learn the basics of modeling by following along with various practical examples and learning from basic commands to advanced commands.
Utilizes Ruby and Twinmotion plugin software.
SketchUp can utilize a variety of plug-in software.
This book introduces how to extract realistic images and videos using Twinmotion (free), a real-time 3D visualization tool, and how to use Ruby to supplement the basic tools and efficiently perform automation, surface work, object editing, and more.
You can easily create drawing presentation materials using LayOut.
You can import modeling data from SketchUp into LayOut, attach it as data, add content, and create drawings and documents to use in presentations or proposals.
GOODS SPECIFICS
- Date of issue: October 17, 2025
- Page count, weight, size: 496 pages | 190*260mm
- ISBN13: 9791138399111
You may also like
카테고리
korean


korean

![GQ KOREA Mark (Monthly): December [2025]](http://librairie.coreenne.fr/cdn/shop/files/8ef265dbbfbf186523ed75ba7319009d.jpg?v=1765340328&width=3840)


