

Vibe Coding with Code Assistant
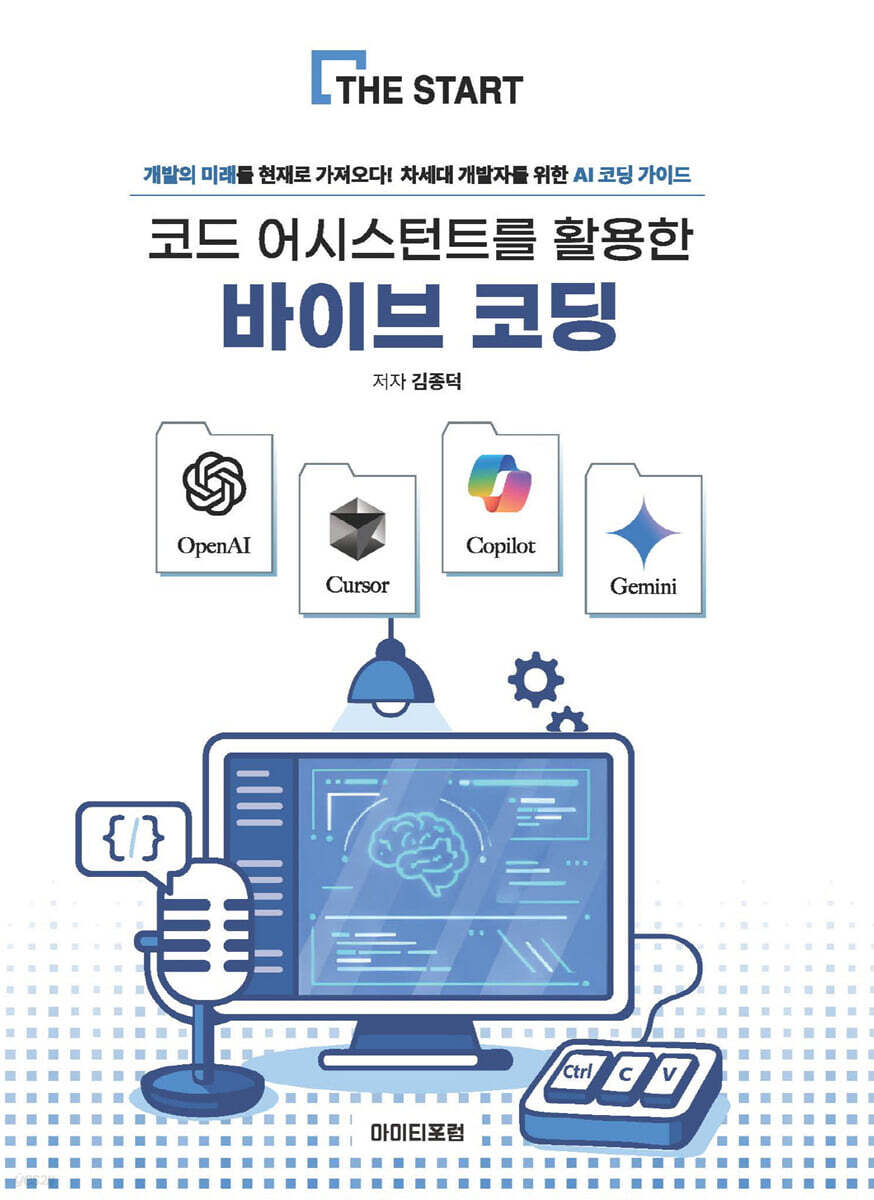 |
Description
Book Introduction
This book is aimed at the average person who wants to use various “code assistants.”
This book is also aimed at beginner developers who want to increase their productivity through Vibe Coding. It's written so that even those with no IT experience can follow it, as well as those at the entry-level level of development.
This book is also aimed at beginner developers who want to increase their productivity through Vibe Coding. It's written so that even those with no IT experience can follow it, as well as those at the entry-level level of development.
- You can preview some of the book's contents.
Preview
index
1.
The Age of Coding Through Voice - Vibe Coding
1.1 The 3.0 era of software development has begun.
1.2 What role will developers play in the future?
1.3 The Reality and Alternatives of Vibe Coding
1.4 Free Agent - The Era of Solopreneurs
2.
What tools do you have?
2.1 Big Tech's Fierce AI War
2.2 Microsoft Copilot
2.3 Cursor IDE
2.4 Google's Gemini CLI
2.5 Amazon's Kiro
3.
Basic setup for development
3.1 Installing Python and Visual Studio Code
3.2 Trying Python
3.3 Examining the Basics of the Web
4.
Installing and using Copilot in Visual Studio Code
4.1 Installing Copilot in Visual Studio Code
4.2 Writing a Game with Python
4.3 Automated Data Analysis and Visualization Using Copilot
4.4 Using Python's SQLite and creating a GUI program to crawl the results
4.5 Creating a GUI program as an executable file and distributing it
4.6 Creating a program that saves crawled results to an Excel file
4.7 Creating a Landing Web Page
5.
Generating code using the Cursor IDE
5.1 Installing Cursor IDE
5.2 Developing with the Cursor IDE
5.3 Automating Data Analysis and Visualization with the Cursor IDE
5.4 Creating a Shooting Game Like Xevious with the Cursor IDE
5.5 Creating a Website Promoting K-Dramas with Cursor IDE
5.6 Setting rules in the Cursor IDE
6.
Install and use Google's Fun Age CLI
6.1 Installing Google's Gemini CLI and using it with Visual Studio Code
7.
Using Amazon's Kiro
7.1 Installing Kiro
7.2 Creating a simple website based on specifications
7.3 Creating game code based on specifications
8.
Developing iPhone Apps with Xcode on macOS - Using Cursors
8.1 A Brief Introduction to the iPhone App
8.2 Introduction to the Swift Language and SwiftUI
8.3 Running code generated by the Cursor IDE in Xcode
8.4 Deploying and Running the Real App on an iPhone
9.
Using Claude Code
9.1 Installing Claude Code
9.2 Creating a Xevious Game Using Claude Code
9.3 Creating a To-do List Web Page Using Claude Code
Chapter 10 Mini-Project - Connecting and Using the Cursor IDE and Supabase
10.1 Connecting to Supabase using MCP
10.2 Creating a Shopping Mall Project
10.3 Adding a Bulletin Board to a Shopping Mall Project
The Age of Coding Through Voice - Vibe Coding
1.1 The 3.0 era of software development has begun.
1.2 What role will developers play in the future?
1.3 The Reality and Alternatives of Vibe Coding
1.4 Free Agent - The Era of Solopreneurs
2.
What tools do you have?
2.1 Big Tech's Fierce AI War
2.2 Microsoft Copilot
2.3 Cursor IDE
2.4 Google's Gemini CLI
2.5 Amazon's Kiro
3.
Basic setup for development
3.1 Installing Python and Visual Studio Code
3.2 Trying Python
3.3 Examining the Basics of the Web
4.
Installing and using Copilot in Visual Studio Code
4.1 Installing Copilot in Visual Studio Code
4.2 Writing a Game with Python
4.3 Automated Data Analysis and Visualization Using Copilot
4.4 Using Python's SQLite and creating a GUI program to crawl the results
4.5 Creating a GUI program as an executable file and distributing it
4.6 Creating a program that saves crawled results to an Excel file
4.7 Creating a Landing Web Page
5.
Generating code using the Cursor IDE
5.1 Installing Cursor IDE
5.2 Developing with the Cursor IDE
5.3 Automating Data Analysis and Visualization with the Cursor IDE
5.4 Creating a Shooting Game Like Xevious with the Cursor IDE
5.5 Creating a Website Promoting K-Dramas with Cursor IDE
5.6 Setting rules in the Cursor IDE
6.
Install and use Google's Fun Age CLI
6.1 Installing Google's Gemini CLI and using it with Visual Studio Code
7.
Using Amazon's Kiro
7.1 Installing Kiro
7.2 Creating a simple website based on specifications
7.3 Creating game code based on specifications
8.
Developing iPhone Apps with Xcode on macOS - Using Cursors
8.1 A Brief Introduction to the iPhone App
8.2 Introduction to the Swift Language and SwiftUI
8.3 Running code generated by the Cursor IDE in Xcode
8.4 Deploying and Running the Real App on an iPhone
9.
Using Claude Code
9.1 Installing Claude Code
9.2 Creating a Xevious Game Using Claude Code
9.3 Creating a To-do List Web Page Using Claude Code
Chapter 10 Mini-Project - Connecting and Using the Cursor IDE and Supabase
10.1 Connecting to Supabase using MCP
10.2 Creating a Shopping Mall Project
10.3 Adding a Bulletin Board to a Shopping Mall Project
Publisher's Review
“Vibe Coding with Code Assistant” is a book that covers the recently popular Vibe Coding.
There are so many tools out there that I had a hard time deciding which one to use for my work.
First, we prioritized tools that are easy for beginners to use.
First of all, the integrated development environment is easy to use.
Installing Copa Ilot in Microsoft's Visual Studio Code creates a truly powerful environment.
Although it has some functional shortcomings, it is a great environment for beginners to choose and use.
Secondly, I chose tools that are available for free.
In fact, there are many developers who use Cloud Code, but there are some parts that require payment, so I chose Visual Studio Code + Co-Pilot, which can be used for free, and Cursor IDE, which can be used for free for two weeks.
Kiro, launched by Amazon, is also an integrated development environment that is currently available for free.
This book mainly explains environments that can be used for free whenever possible.
Third, there are recently released environments. CLI environments are not easy for beginners to choose.
However, Google's Gemini CLI is free to use and provides a capacity of 1 million tokens, so I think it's suitable for testing large-scale programs.
Fourthly, I have summarized how to sign up and use the Claude Code, which is a paid service but still the best.
If you develop using Code Assistant, you will need to make regular payments.
It may be a bit burdensome for readers, but please take a look and see that this kind of environment exists.
Finally, I tried running an electronics shopping mall as a mini project.
Usually, when doing long-term training, the shopping mall and bulletin board are created in one to two weeks.
You can easily auto-generate code like this by wrestling with the Cursor IDE for two to three hours.
The above environments can be changed at any time.
Since new versions of Vibe Coding tools are released every month, the screens may be slightly different.
However, since the usage methods are similar, if you learn the representative Vibe coding tools that help with coding, you can easily adapt to environments not covered in this book.
I'm having similar experiences.
Now is the time to learn coding using AI-based LLM.
I'm so curious to see what changes will emerge in the future.
The culture of utilizing code assistants is expected to spread rapidly.
I personally teach courses aimed at developers, but I also teach Python programming courses for the general public, as well as no-code and low-code courses. Even those without coding knowledge can easily practice using code assistant tools.
We now see a market opening up where ordinary people (citizen developers) can create websites and applications, rather than a market exclusive to professional developers.
Most of the code in this book is omitted.
As I was generating code with Copilot and Cursor IDE, I realized that adding 100% of the code was not very meaningful, so I boldly omitted the code.
I think it's good for a light approach because it's written in a relatively short booklet.
The completed code has been uploaded to GitHub.
The overall structure of the book is as follows.
Chapter 1 introduces the era of verbal coding - Vibe Coding.
It has become one of the hottest topics among developers and engineers these days.
Chapter 2 looks at what tools are available.
It will probably continue to change even after this book is published.
Still, the basics are similar.
Let's take a quick look at the tools we'll be using.
Chapter 3 covers the basic setup for development.
Non-developers should approach this sequentially, starting with environment setup.
Let's approach it from the beginning by creating and running a web page with Python.
Chapter 4 installs and uses Copilot in Visual Studio Code.
It is an environment that is easily accessible even to non-developers.
Chapter 5 will generate code using the Cursor IDE.
You can try it for free for two weeks.
Because of its powerful features, if you find coding fun, you'll likely pay for it.
Chapter 6 installs and uses Google's FunNai CLI.
It's easy to install and you can use it for free up to 1 million tokens, so it's great to use alongside other code assistant tools.
Chapter 7 explores Amazon's Kiro.
It's not much different from other tools, but it has a cool feature called spec-based development.
Chapter 8 explores developing iPhone apps using Xcode on macOS.
Let's take a look at an easy way to use the code generated in the Cursor IDE by grafting it onto Xcode provided by Apple.
You can see that mobile apps are also developed in this way.
Chapter 9 covers Claude Code.
It can almost be said to be the king of automatic code generation.
This part requires paid payment.
It has many similarities to the Cursor IDE discussed earlier, and the usage environment is similar to Google Gemini CLI.
Chapter 10 is a mini-project where you will create an electronics shopping mall from scratch.
Using Cursor IDE, we will solve the database with Supabase, and cover shopping and bulletin board tasks.
You can think of it as being able to do this level of work by combining what you've learned so far.
Chapters 1 through 7 can be practiced on a Windows laptop.
However, for Chapter 8, practice is only possible on a MacBook (macOS).
Xcode, a development tool provided by Apple, must be run on macOS.
For those who don't have a Mac Mini or Mac-based laptop, you can take a look at how mobile work can be done in this way.
Chapter 9 was done on a MacBook, but it also works without any problems on a Windows laptop.
Chapter 10 was also conducted on a Windows laptop.
In fact, most Vibe coding tools support both Windows and Mac.
For convenience, much of this content was conducted on a Windows laptop.
I hope that all of you readers will grow into developers who can implement great ideas by utilizing various code assistant tools.
[Author's Note]
I received help from many people before this book was published.
First of all, I would like to express my gratitude to the staff at Multicampus, Productivity Headquarters, Hunet, and Etibus, who always help instructors who are lacking in skills to give lectures.
I would also like to thank my wife, Hong Eun-mi, who always supports her husband despite his shortcomings, and my office workers, Ye-ji and Ye-jun, who always cheer for their father.
I would also like to thank my mother, father-in-law, and mother-in-law who always pray for me, who is ignorant.
I would also like to thank CEO Kim Yeon-hong for allowing this book to be published.
I would also like to thank my fellow instructors and current developers who have consistently provided feedback on the book.
There are so many tools out there that I had a hard time deciding which one to use for my work.
First, we prioritized tools that are easy for beginners to use.
First of all, the integrated development environment is easy to use.
Installing Copa Ilot in Microsoft's Visual Studio Code creates a truly powerful environment.
Although it has some functional shortcomings, it is a great environment for beginners to choose and use.
Secondly, I chose tools that are available for free.
In fact, there are many developers who use Cloud Code, but there are some parts that require payment, so I chose Visual Studio Code + Co-Pilot, which can be used for free, and Cursor IDE, which can be used for free for two weeks.
Kiro, launched by Amazon, is also an integrated development environment that is currently available for free.
This book mainly explains environments that can be used for free whenever possible.
Third, there are recently released environments. CLI environments are not easy for beginners to choose.
However, Google's Gemini CLI is free to use and provides a capacity of 1 million tokens, so I think it's suitable for testing large-scale programs.
Fourthly, I have summarized how to sign up and use the Claude Code, which is a paid service but still the best.
If you develop using Code Assistant, you will need to make regular payments.
It may be a bit burdensome for readers, but please take a look and see that this kind of environment exists.
Finally, I tried running an electronics shopping mall as a mini project.
Usually, when doing long-term training, the shopping mall and bulletin board are created in one to two weeks.
You can easily auto-generate code like this by wrestling with the Cursor IDE for two to three hours.
The above environments can be changed at any time.
Since new versions of Vibe Coding tools are released every month, the screens may be slightly different.
However, since the usage methods are similar, if you learn the representative Vibe coding tools that help with coding, you can easily adapt to environments not covered in this book.
I'm having similar experiences.
Now is the time to learn coding using AI-based LLM.
I'm so curious to see what changes will emerge in the future.
The culture of utilizing code assistants is expected to spread rapidly.
I personally teach courses aimed at developers, but I also teach Python programming courses for the general public, as well as no-code and low-code courses. Even those without coding knowledge can easily practice using code assistant tools.
We now see a market opening up where ordinary people (citizen developers) can create websites and applications, rather than a market exclusive to professional developers.
Most of the code in this book is omitted.
As I was generating code with Copilot and Cursor IDE, I realized that adding 100% of the code was not very meaningful, so I boldly omitted the code.
I think it's good for a light approach because it's written in a relatively short booklet.
The completed code has been uploaded to GitHub.
The overall structure of the book is as follows.
Chapter 1 introduces the era of verbal coding - Vibe Coding.
It has become one of the hottest topics among developers and engineers these days.
Chapter 2 looks at what tools are available.
It will probably continue to change even after this book is published.
Still, the basics are similar.
Let's take a quick look at the tools we'll be using.
Chapter 3 covers the basic setup for development.
Non-developers should approach this sequentially, starting with environment setup.
Let's approach it from the beginning by creating and running a web page with Python.
Chapter 4 installs and uses Copilot in Visual Studio Code.
It is an environment that is easily accessible even to non-developers.
Chapter 5 will generate code using the Cursor IDE.
You can try it for free for two weeks.
Because of its powerful features, if you find coding fun, you'll likely pay for it.
Chapter 6 installs and uses Google's FunNai CLI.
It's easy to install and you can use it for free up to 1 million tokens, so it's great to use alongside other code assistant tools.
Chapter 7 explores Amazon's Kiro.
It's not much different from other tools, but it has a cool feature called spec-based development.
Chapter 8 explores developing iPhone apps using Xcode on macOS.
Let's take a look at an easy way to use the code generated in the Cursor IDE by grafting it onto Xcode provided by Apple.
You can see that mobile apps are also developed in this way.
Chapter 9 covers Claude Code.
It can almost be said to be the king of automatic code generation.
This part requires paid payment.
It has many similarities to the Cursor IDE discussed earlier, and the usage environment is similar to Google Gemini CLI.
Chapter 10 is a mini-project where you will create an electronics shopping mall from scratch.
Using Cursor IDE, we will solve the database with Supabase, and cover shopping and bulletin board tasks.
You can think of it as being able to do this level of work by combining what you've learned so far.
Chapters 1 through 7 can be practiced on a Windows laptop.
However, for Chapter 8, practice is only possible on a MacBook (macOS).
Xcode, a development tool provided by Apple, must be run on macOS.
For those who don't have a Mac Mini or Mac-based laptop, you can take a look at how mobile work can be done in this way.
Chapter 9 was done on a MacBook, but it also works without any problems on a Windows laptop.
Chapter 10 was also conducted on a Windows laptop.
In fact, most Vibe coding tools support both Windows and Mac.
For convenience, much of this content was conducted on a Windows laptop.
I hope that all of you readers will grow into developers who can implement great ideas by utilizing various code assistant tools.
[Author's Note]
I received help from many people before this book was published.
First of all, I would like to express my gratitude to the staff at Multicampus, Productivity Headquarters, Hunet, and Etibus, who always help instructors who are lacking in skills to give lectures.
I would also like to thank my wife, Hong Eun-mi, who always supports her husband despite his shortcomings, and my office workers, Ye-ji and Ye-jun, who always cheer for their father.
I would also like to thank my mother, father-in-law, and mother-in-law who always pray for me, who is ignorant.
I would also like to thank CEO Kim Yeon-hong for allowing this book to be published.
I would also like to thank my fellow instructors and current developers who have consistently provided feedback on the book.
GOODS SPECIFICS
- Date of issue: September 30, 2025
- Page count, weight, size: 304 pages | 666g | 189*257*14mm
- ISBN13: 9788997945115
- ISBN10: 8997945114
You may also like
카테고리
korean


korean

![GQ KOREA Mark (Monthly): December [2025]](http://librairie.coreenne.fr/cdn/shop/files/8ef265dbbfbf186523ed75ba7319009d.jpg?v=1765340328&width=3840)


